Bringing Mycroft Back To Life
Day 10 of the #100DaysToOffload Series:
My #Mycroft Mark I hasn’t been working lately. Yesterday I had a few minutes tonight to plug in an external monitor and start it back up and see what I could see, and it wasn’t good. RIP Mycroft. Until today. Here’s my process for bringing Mycroft back to life!
This is really about as straight forward of a process as it can be. I’m going to go through this process, but this is going to be more show than tell.
- First things first, I download the latest image and “burn” it to the SD card I’ve retrieved from the Raspberry Pi that is the basic hardware of a Mark I.
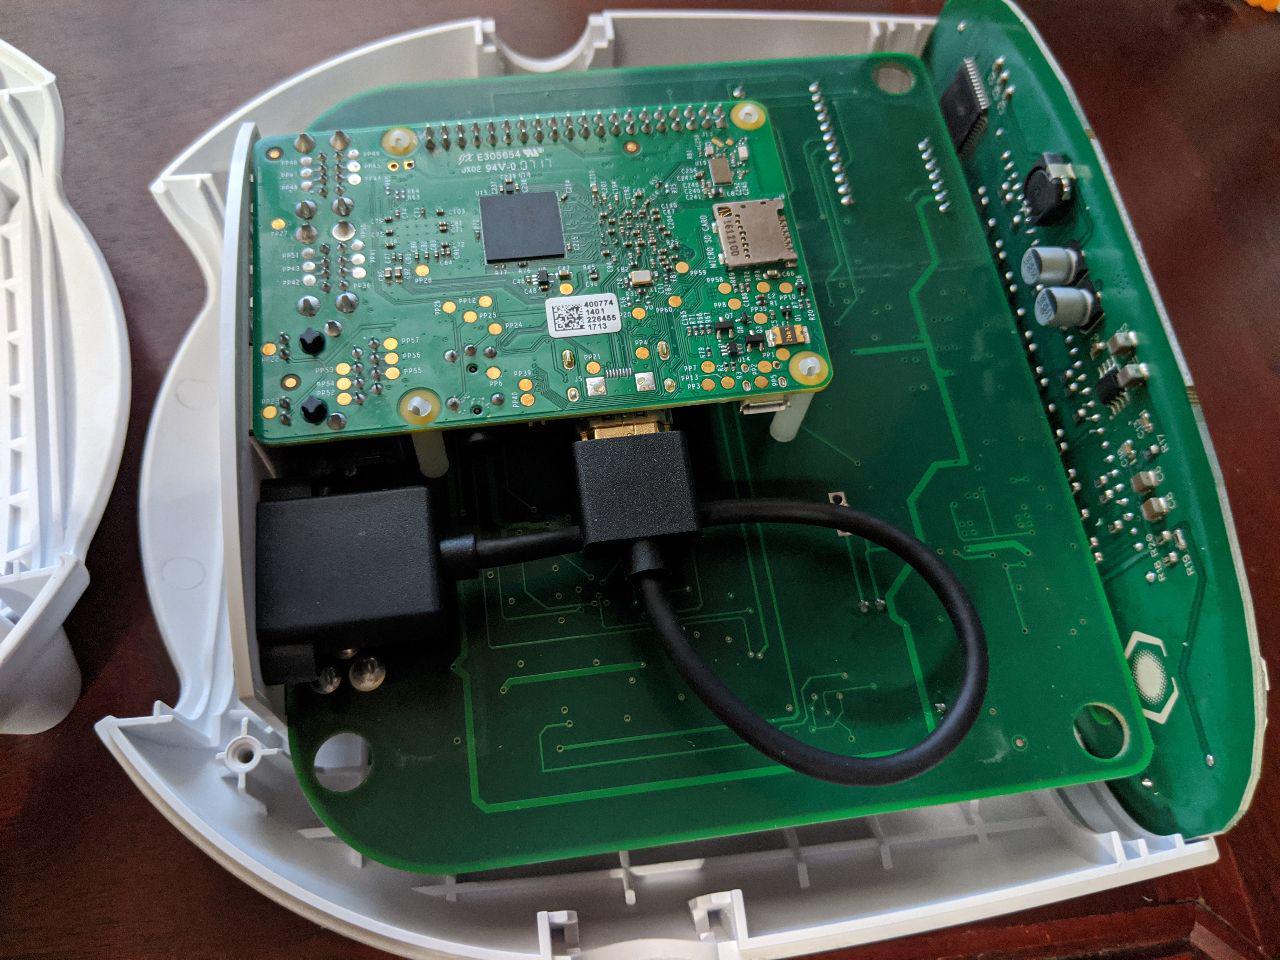
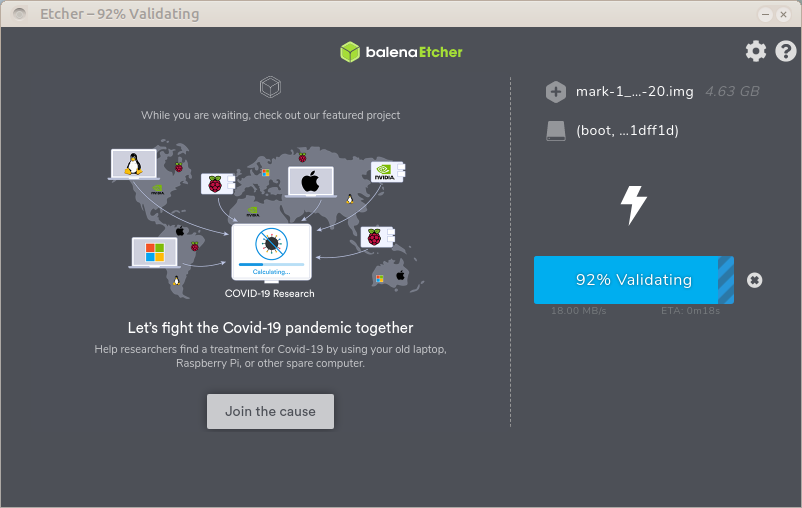
- After I have the image burned to the SD card, it’s replaced into the Pi.

- I put the case back together, plug it in, and turn it on.
- It goes through the standard start process like it’s a brand new device.
- Register it with the Mycroft’s server
- There is a version of the Mycroft server you can run out of your home. It’s a project that I’d love to spend more time on, but so far I’ve only used the centralized version.
- Once it’s registered, Mycroft starts updating.
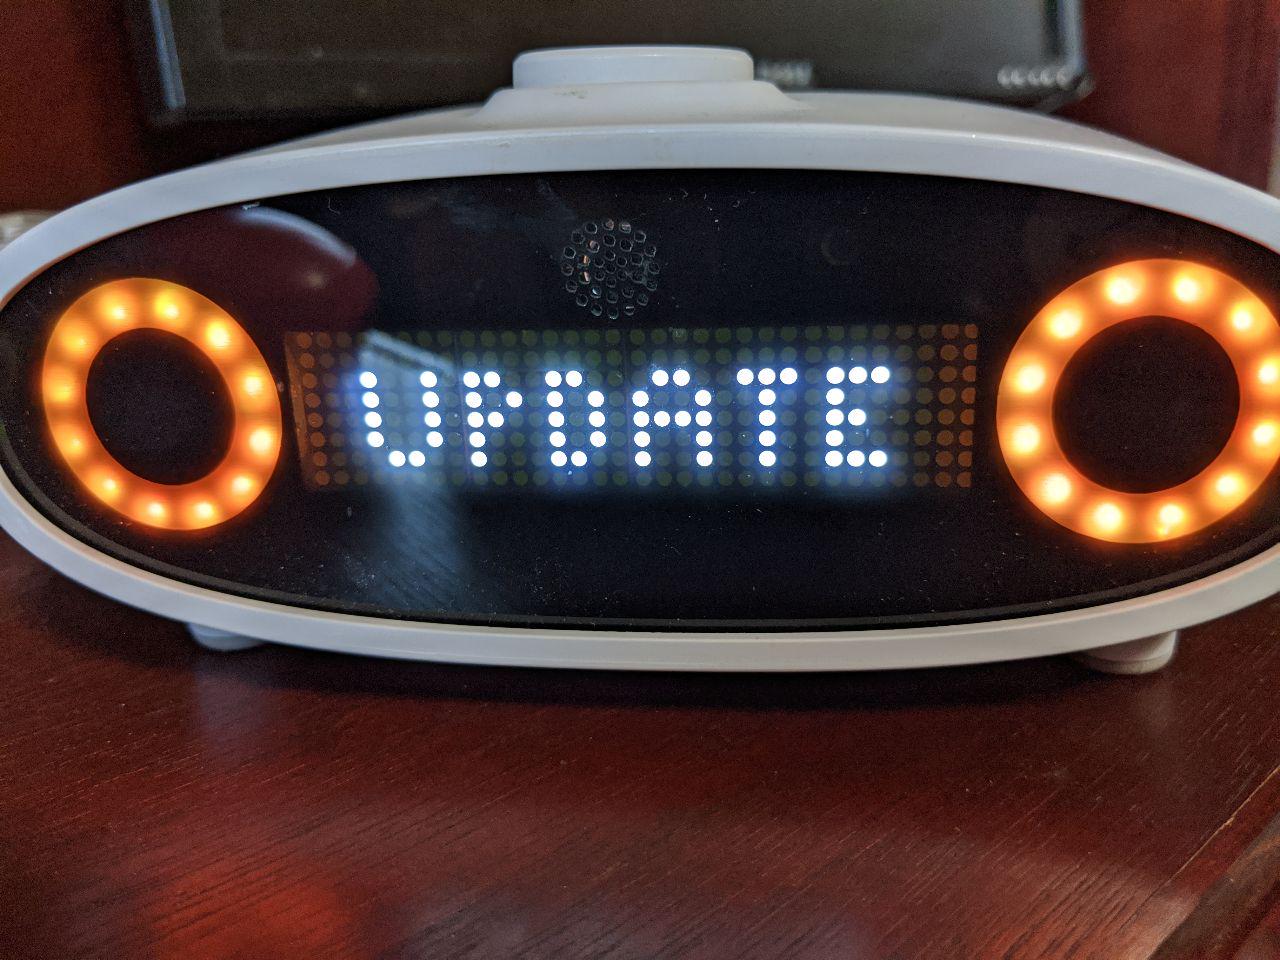
- After the updates are installed, the standard requisite reboot is performed.
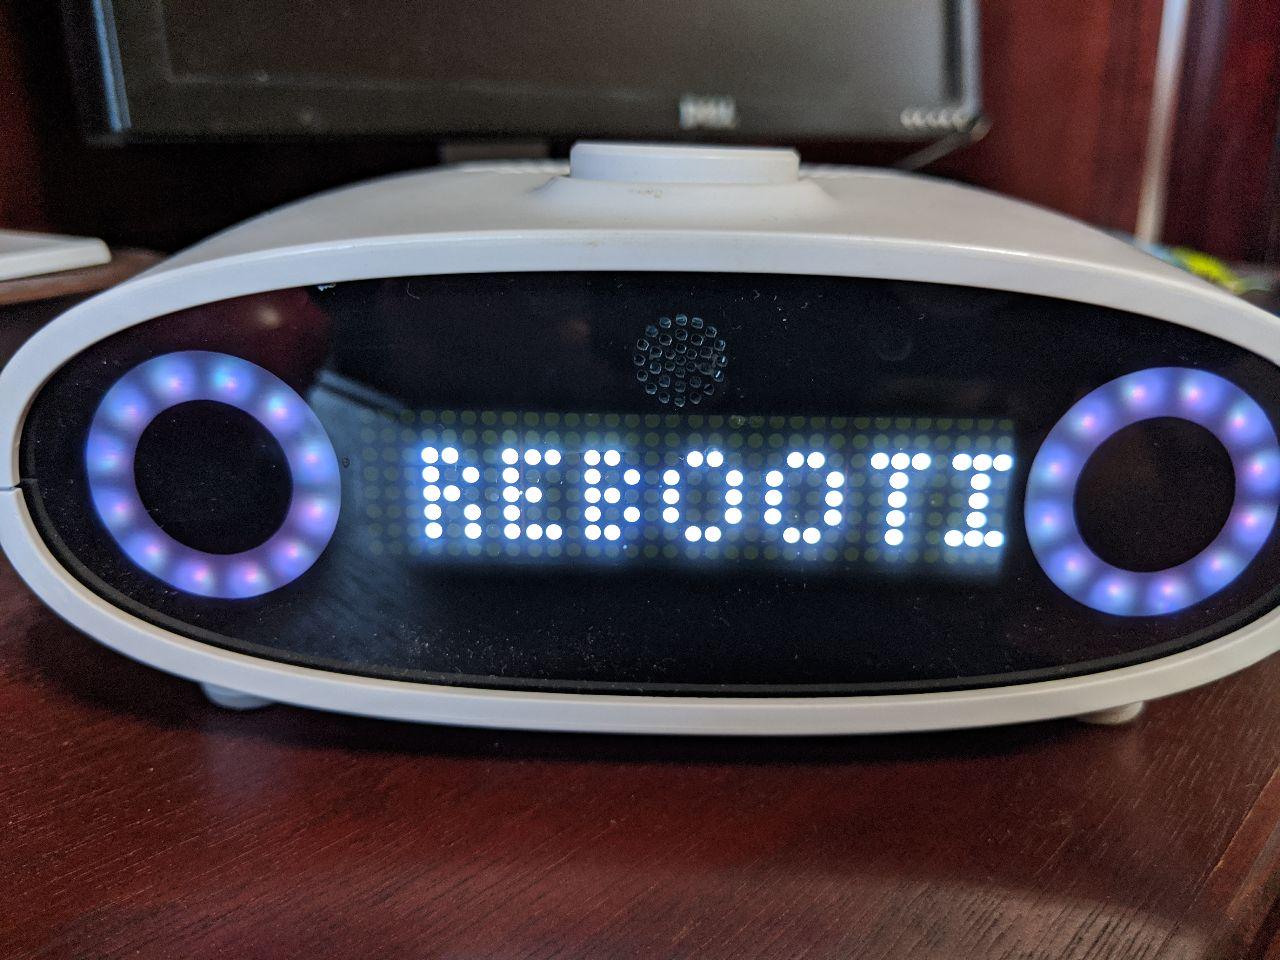
- Once it’s back online and at the current version, it pulls down the skills for every day use.
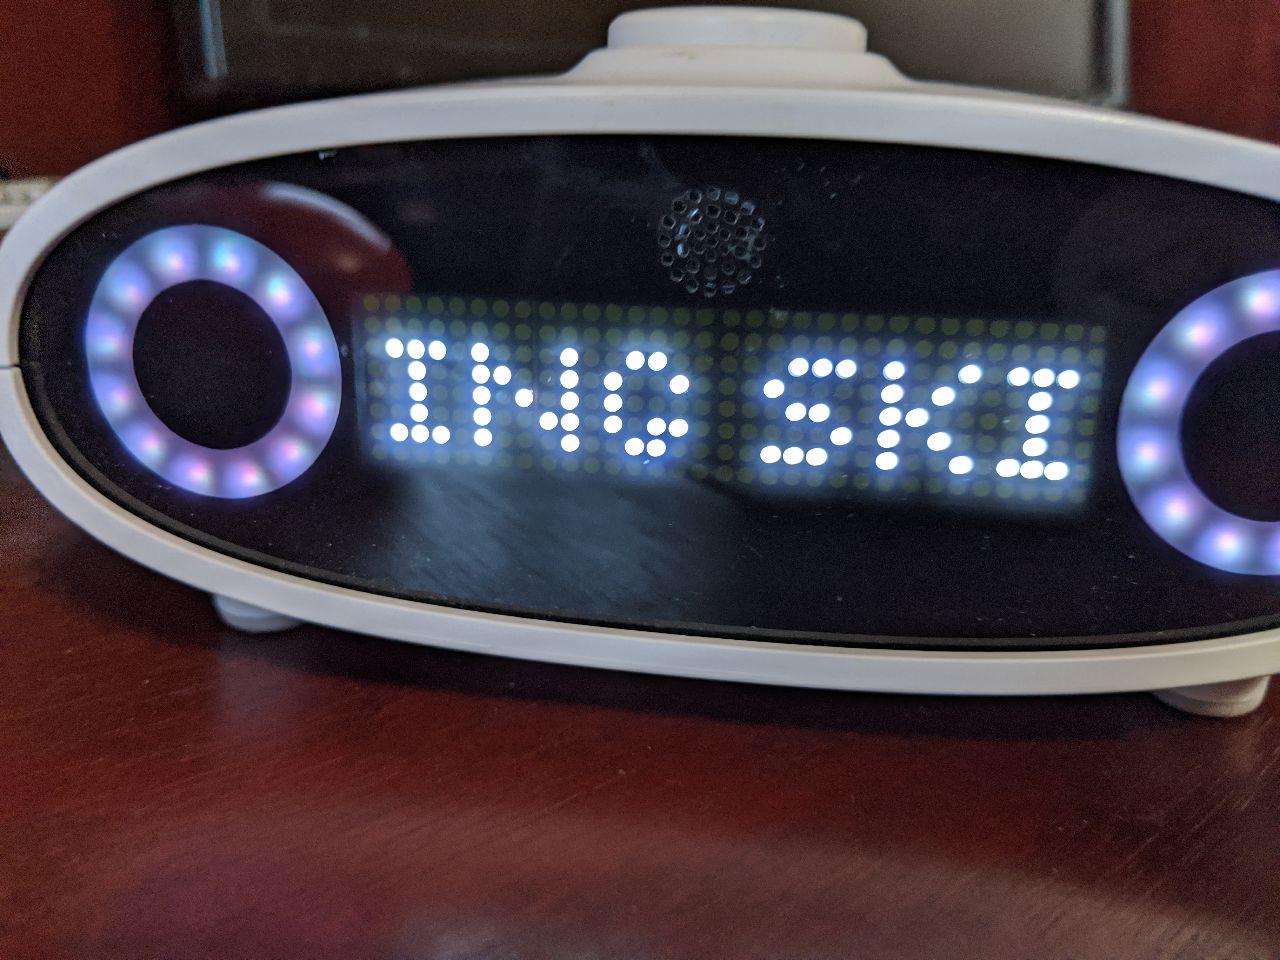
- Once the skills are installed, Mycroft is back up and running.
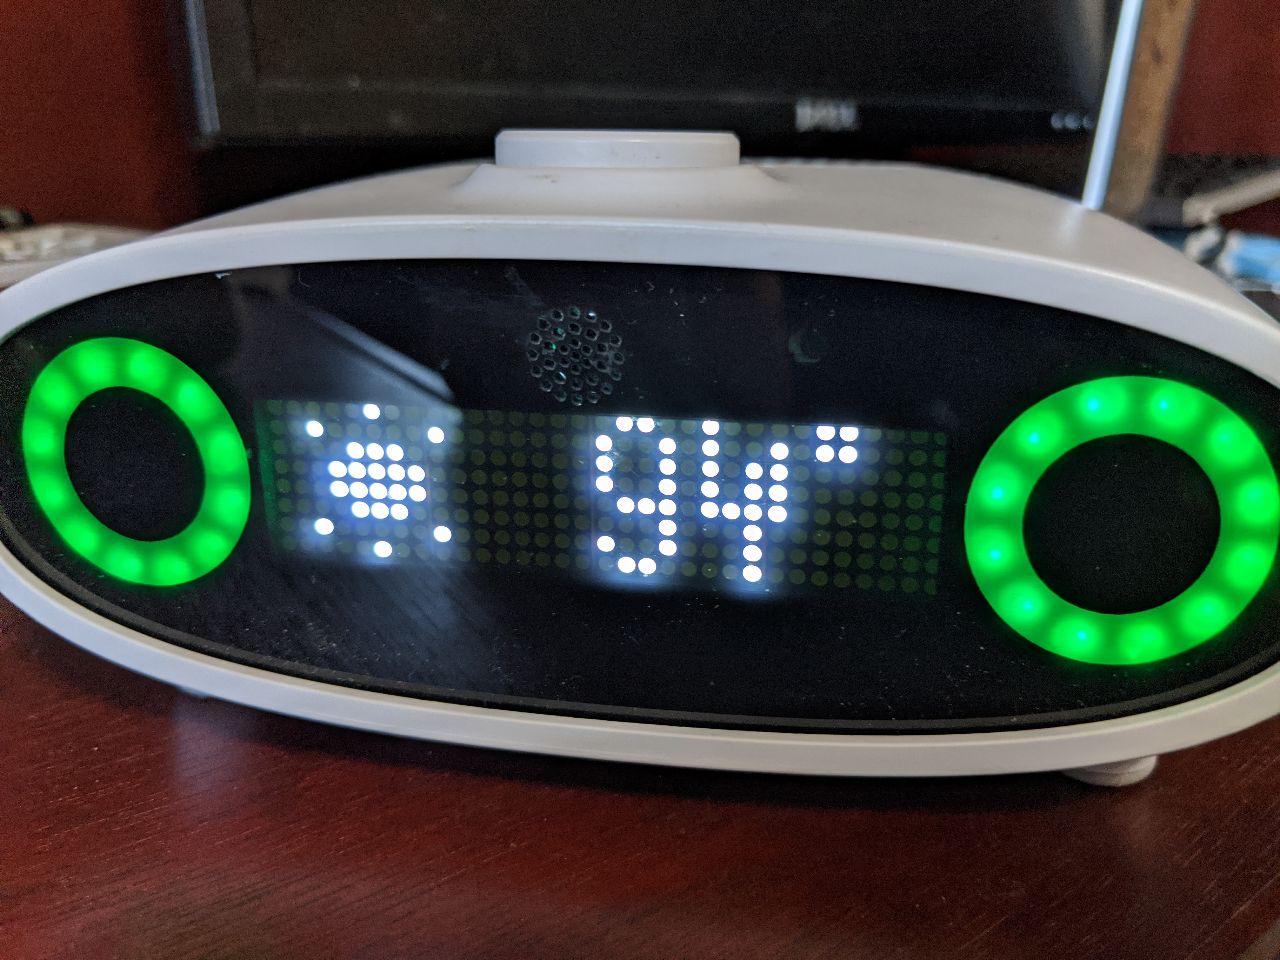
And that’s it! Nice to have you back little buddy. Now enough slacking!
Looking for comments? There are no comments. It's not that I don't care what you think, it's just that I don't want to manage a comments section.